Event Reports
4x4 Riverland Challenge 2009
4x4 Mud Dust & Music 09
4x4 Riverland Challenge 08
Victoria 4WD Trip June 09
New Articles
AWD and Odd Sized Tyres
Outback Low Range Conversion
Windscreen, Spray then Wipe
Storage and Sleeping System
Project83
Intro - the idea and plan
4WD Conversion
Fender cutting
Radius Rod Mod
CD Player install EA81
Concept Subaru's
Bobbed Subaru Brumby
2005 Subaru Brumby/Brat
2door STi Convertible
Forester Pickup Truck
EA82 hatchback
Other Photochops
Subaru related Links
Forums
Ultimate Subaru
Message Board
Info Sites
Written by Thomas Paine - Phizinza
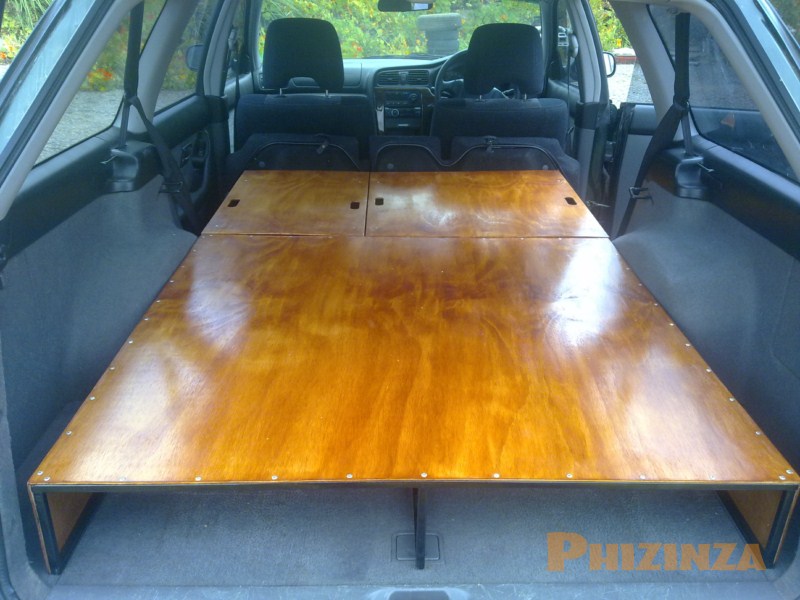
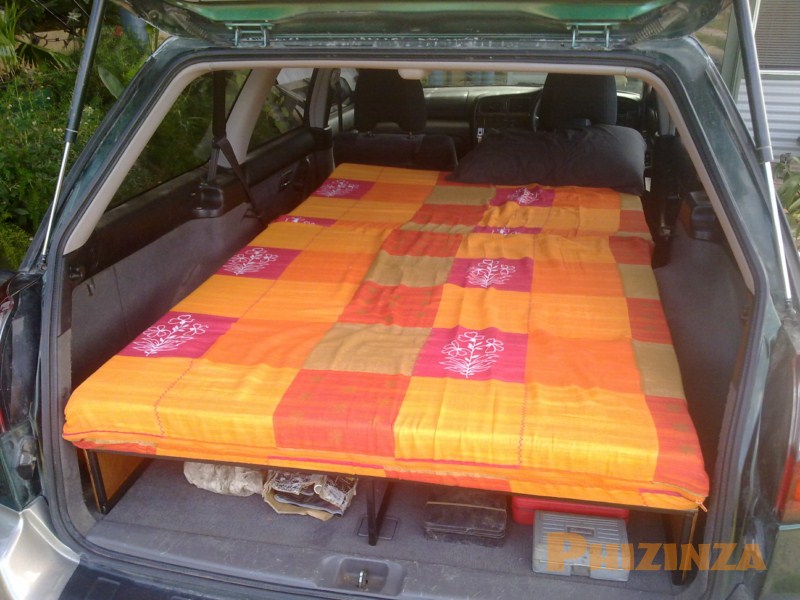
Wanting my new Gen3 Outback to be a tourer/camping rig I set out plans to live out the back of the car. I needed enough room to store tools, recovery gear, food, burners, chairs, esky, etc. But I also wanted to fit two people in the back. First thoughts were drawer systems. After much thought that idea became too complicated, wasteful of space and heavy. As I wanted the back seats easily accessible while touring the first part of the storage system would only be 1 metre deep, easy enough to reach in and not worry about drawers. I set out building a very light weight system that maximised headroom for sleeping as well.
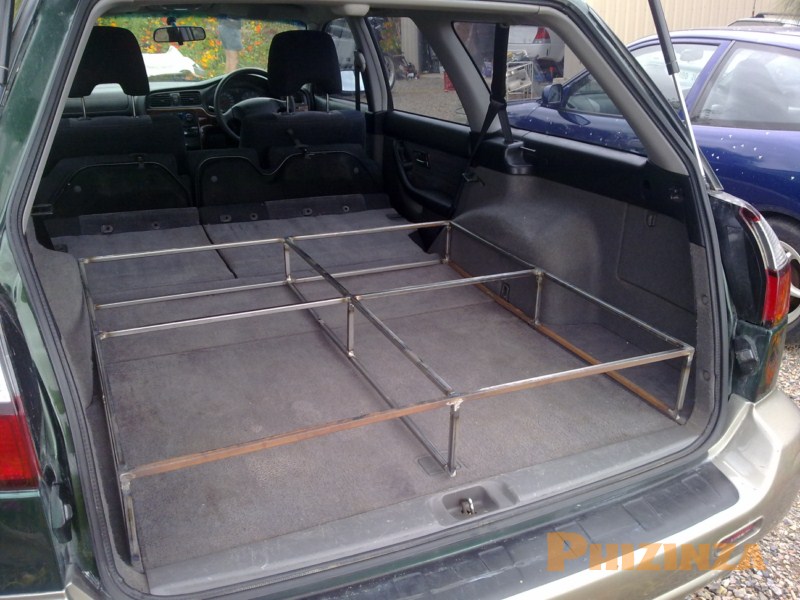
While measuring the back of the car I found it actually sloped downwards towards the back, while the roof sloped upwards towards the back. I decide to make the bed level with the grey trim along the outside of the car. This meant it has to slowly slop upwards towards the front.
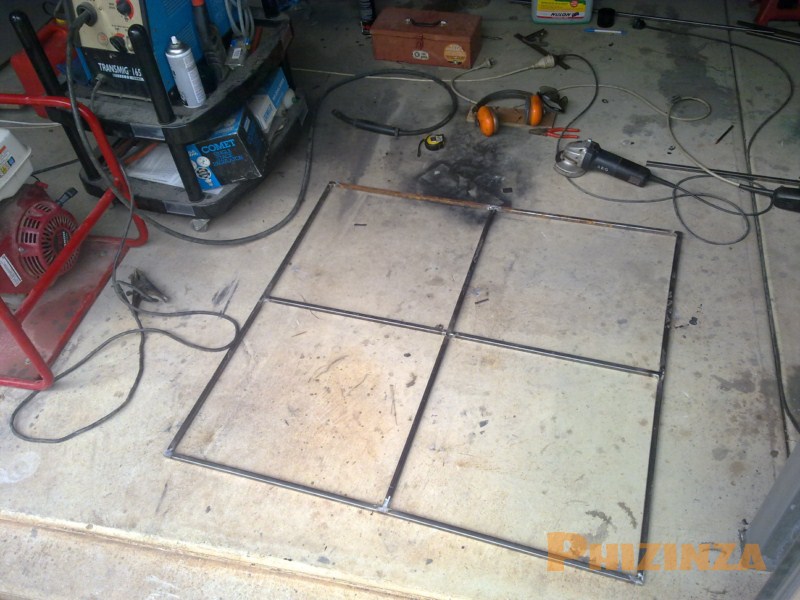
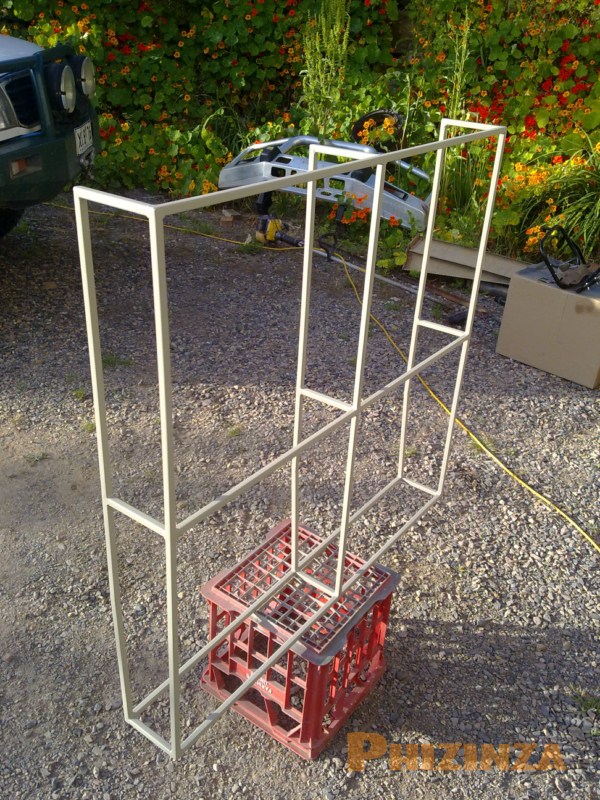
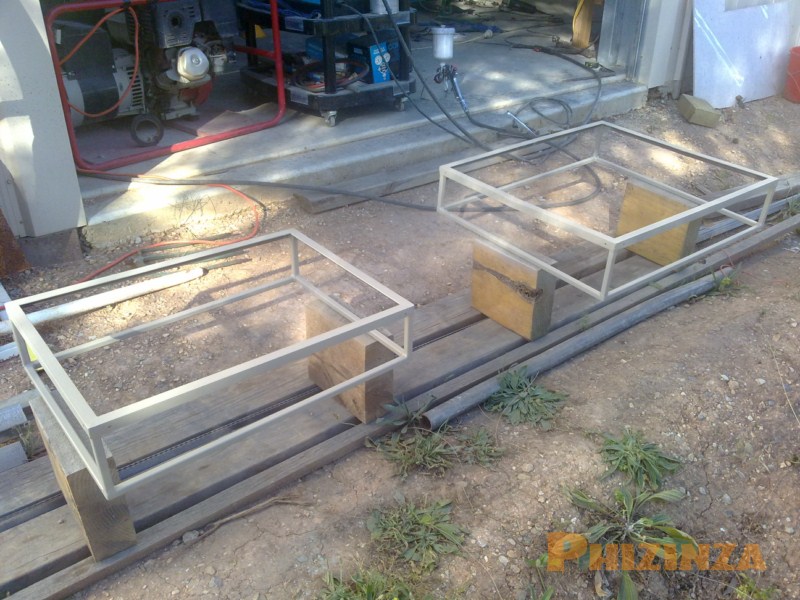
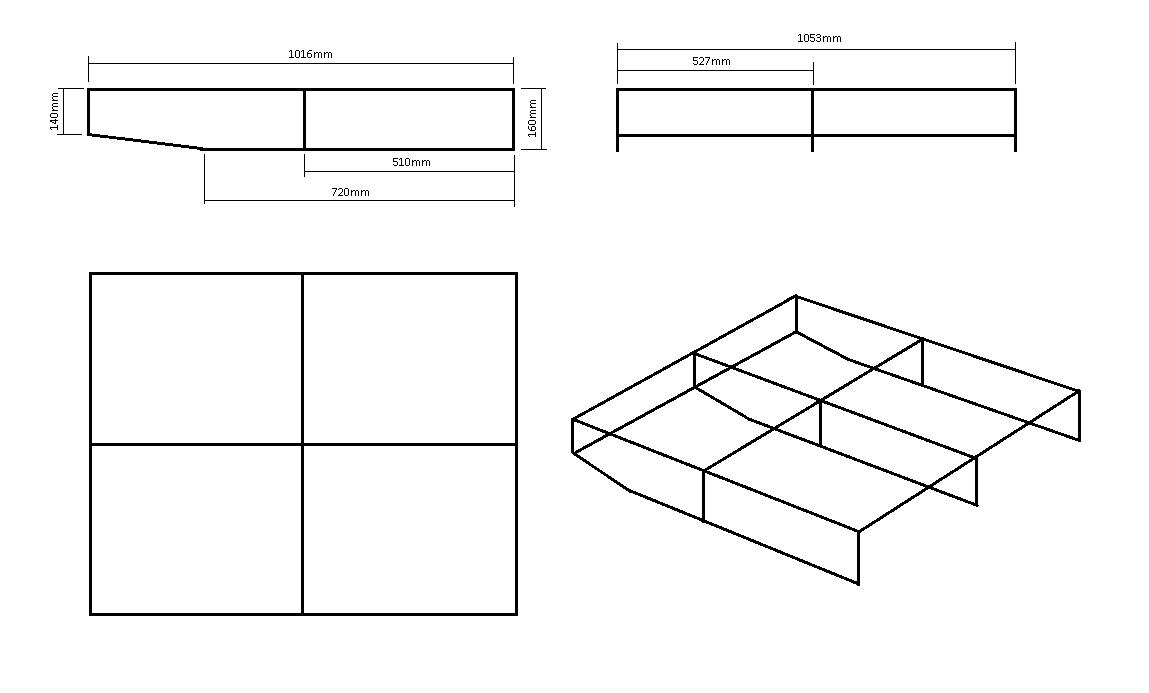
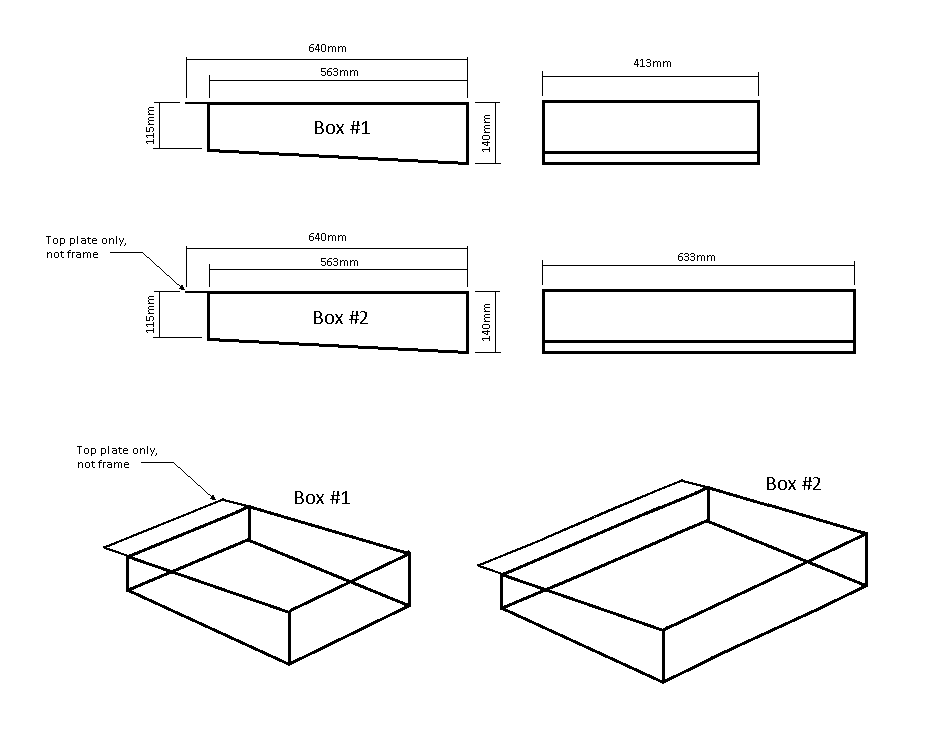
Building it from 12x12x1.2mm box section I cut it at 45 degree angles and welded to eliminate any sharp edges or areas moisture could get in. I first built the top section of the frame, then welded the upright legs to it squarely. The bottom of this first part had to be parallel to the top part for 720mm then start sloping. Easy enough to cut a slit in the tube and weld it up once the bottom runners were welded to the frame.
Painting it with a primer then a black enamel should prevent rust and nicks. The enamel I used hasn't set properly hard though and I might need to peel it off and respary in the future.
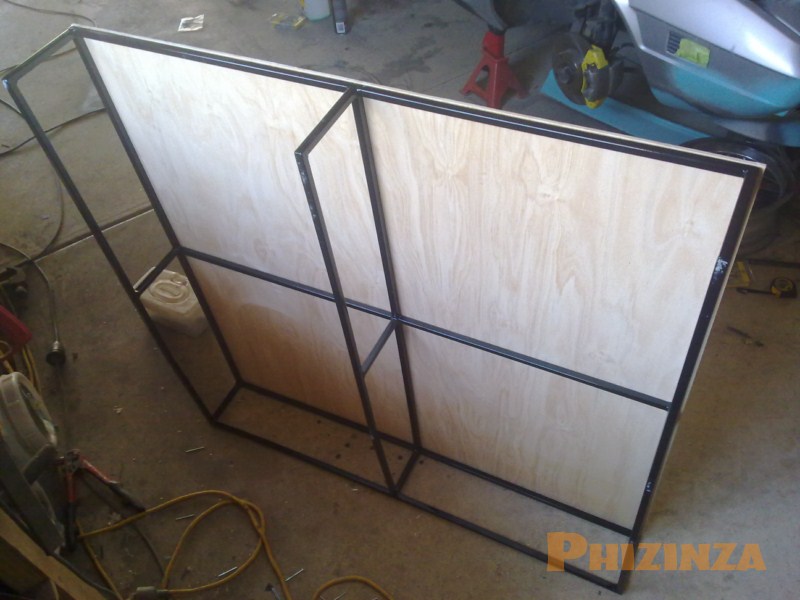
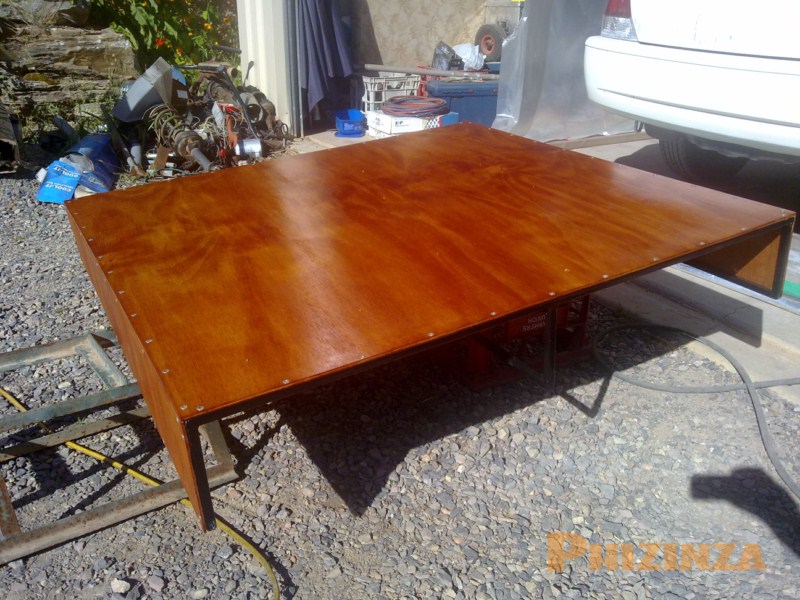
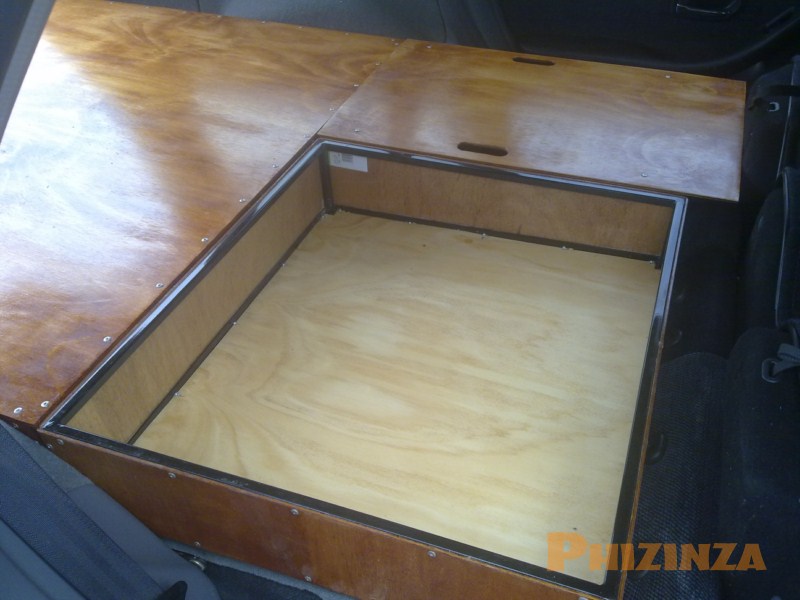
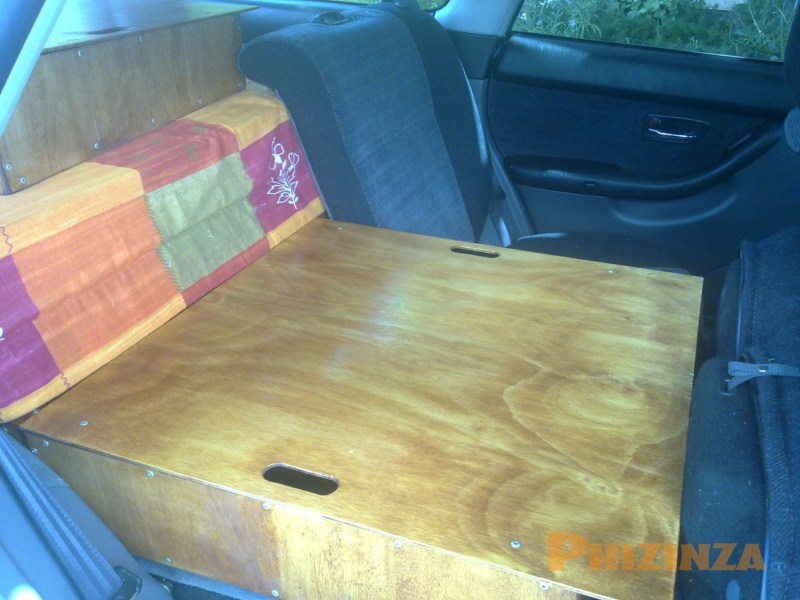
I am using 4.5mm Ply for the top to support the bed as it will only span 500mm gaps or there abouts. But the sides are 3.5mm Ply to lower weight. I cut all the ply up using a table saw so it was easy to get the sloping angles needed. Not being completely happy with the light colour of plywood I chose to stain it and then varnish. I pop riveted the ply to the frame with spacings of around 100mm.
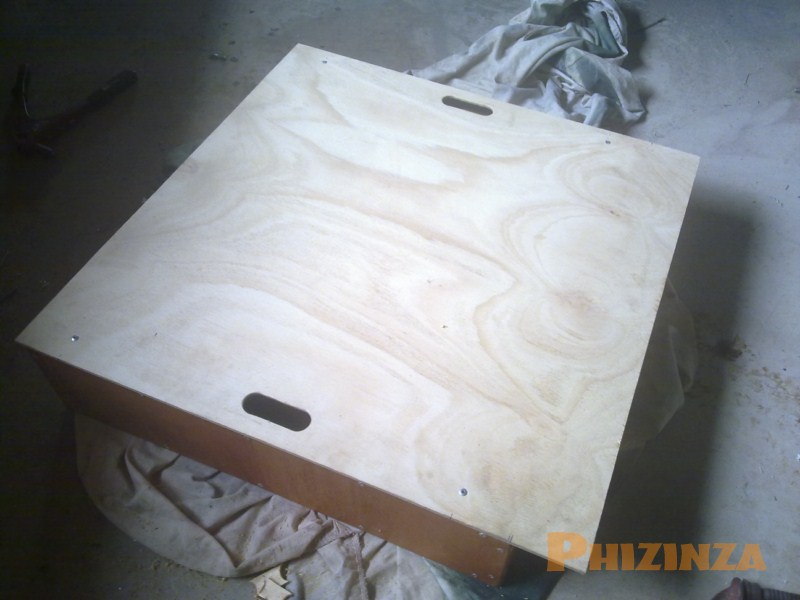
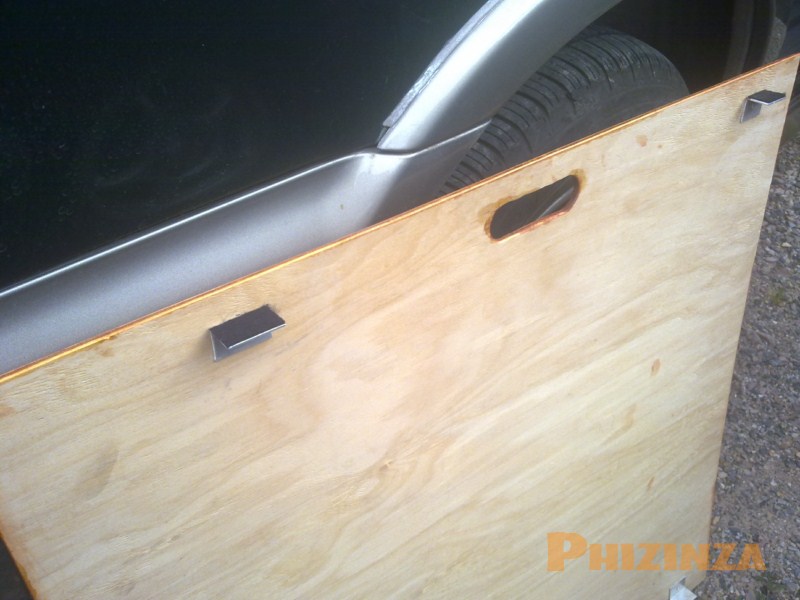
The front boxes only differ at the bottom where I have used 20x20x3mm angle so the base plate in them can sit inside instead of being riveted to the outside, this is mainly for strength. They will be holding tools and recovery gear so they need to hold at least 20kg each. I also used the 4.5mm Ply on the bottom pieces. The top lids are held in place with small aluminium angle pieces riveted to the plywood. They also have holes cut in so you can lift them off or reach in and lift the frame of the box to move it.
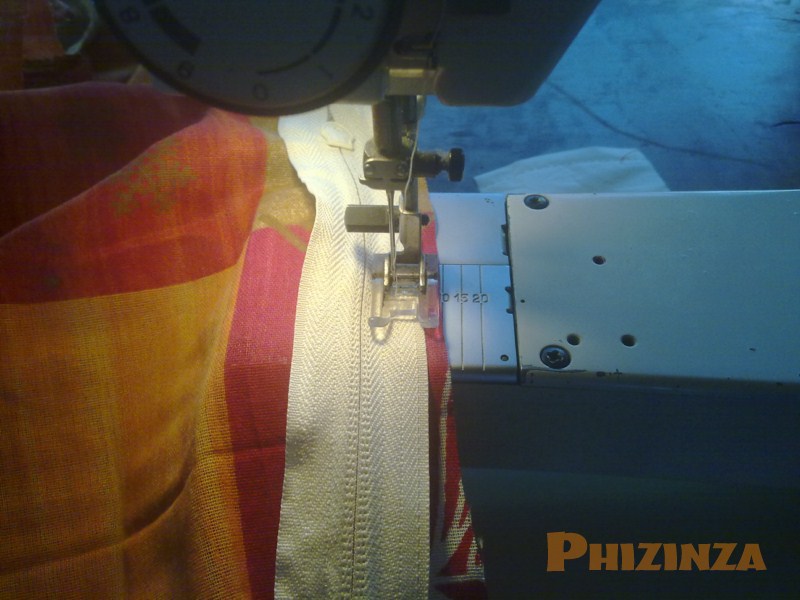
For the mattress I bought a standard Double size 100mm thick. I cut the foam down to the 1070mm wide size and 1700mm long with an angle cut in the middle so it will fold and match the seats once they are folded up. I unstitched the end of the mattress cover which did not have a zipper, then stitched another zipper in that end (cost me $2.70 or something). Put both pieces of foam into the cover which is at this point still fits the 1370mm mattress. With pins I made two loops of materials along the top edge of the mattress cover to lose some extra of the cover as I cut the mattress down by 130mm. After stitching those I put the foam back in and pushed the extra material along the bottom side up between the two pieces of foam and pinned it. Stitched that together, pinned the 1370mm edge to fit tight with the mattress foam and stitched that. With some hand stitching to clean up the corners there it is, a folding mattress for the back of the wagon!
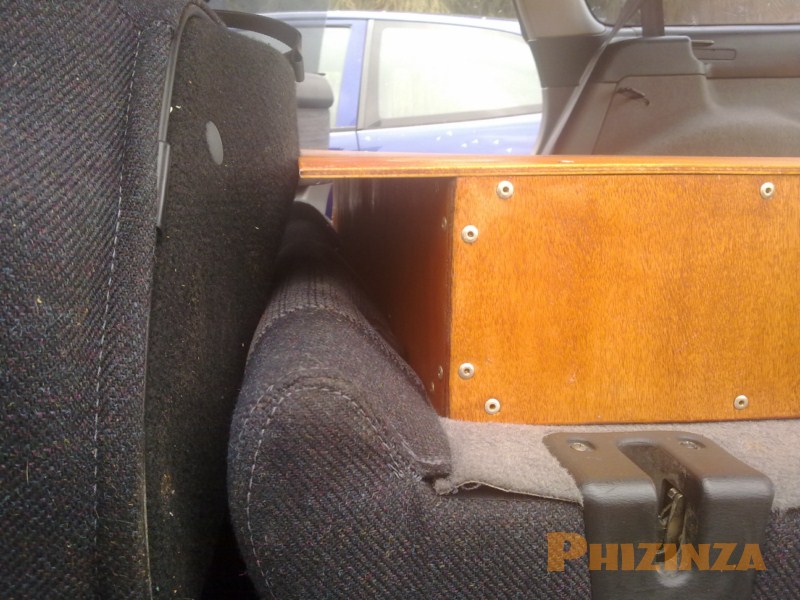
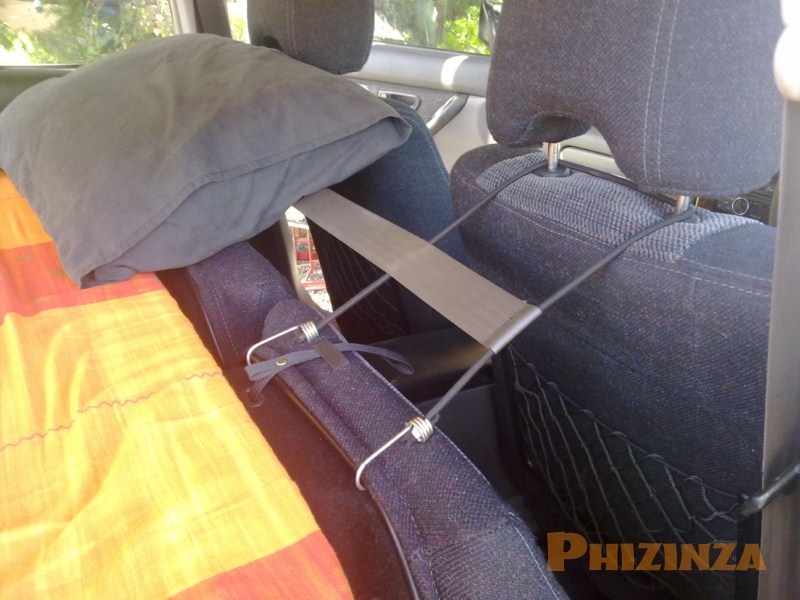
Due to being far too tall I found that even using back seat folded up I didn't gain enough room in the back of the wagon. I came up with this kind of stretchy strap support which wraps around the front seats head rests and hooks onto the bottom of the back seats. I made this with some elastic cord, some octopus strap hooks and an old Subaru seat belt.
Total material used:
17m 12x12x1.2mm @ $35
5m 20x20x3mm
+ @ $13
1 x 2400x1200 4.5mm Ply @ $18
2 x 1200x600 3.5mm Ply @ $38
200+ 4mm dia, 7.9mm grip, rivets @ $13
Double 100mm Foam Mattress @ $109
Extra Mattress Cover Zipper @ $3
Cost: $229
Already had paint, varnish and stain in the cupboard!
The weights of the 3 parts are:
Box #1 (smaller) 5kg
Box #2 (larger) 6kg
Rear floating floor 8kg
Mattress 3.5kg
Total 22.5kg
Photos included here, and also some technical drawings if you would like to do something similar!
 |
 |
 |
 |
 |
 |
 |
 |
 |
 |
 |
 |
 |
 |
 |
 |
 |
 |
 |
 |
Text and pictures on this site Copyright © 2005 Thomas Paine. All rights reserved. All copyrights are retained by original authors. If you wish to use a picture or quote the text off this site to your own site or to a online forum please ask for permission first. If you use anything off this site that may lead to damage of my reputation I will have to take the matter further. So do not piss me off!
DISCLAIMER: Thomas Paine, www.OffroadingSubarus.com, does not warrant or make any representation regarding the use, or results of use of the information contained on and within this website as to its correctness, accuracy, currency or otherwise. Thomas Paine, www.OffroadingSubarus.com, expressly disclaim all liability or responsibility to any person using the information or advice contained on and within this website.
