
Event Reports
4x4 Riverland Challenge 2009
4x4 Mud Dust & Music 09
4x4 Riverland Challenge 08
Victoria 4WD Trip June 09
New Articles
AWD and Odd Sized Tyres
Outback Low Range Conversion
Windscreen, Spray then Wipe
Storage and Sleeping System
Project83
Intro - the idea and plan
4WD Conversion
Fender cutting
Radius Rod Mod
CD Player install EA81
Concept Subaru's
Bobbed Subaru Brumby
2005 Subaru Brumby/Brat
2door STi Convertible
Forester Pickup Truck
EA82 hatchback
Other Photochops
![]()
Subaru related Links
Forums
Ultimate Subaru
Message Board
Info Sites
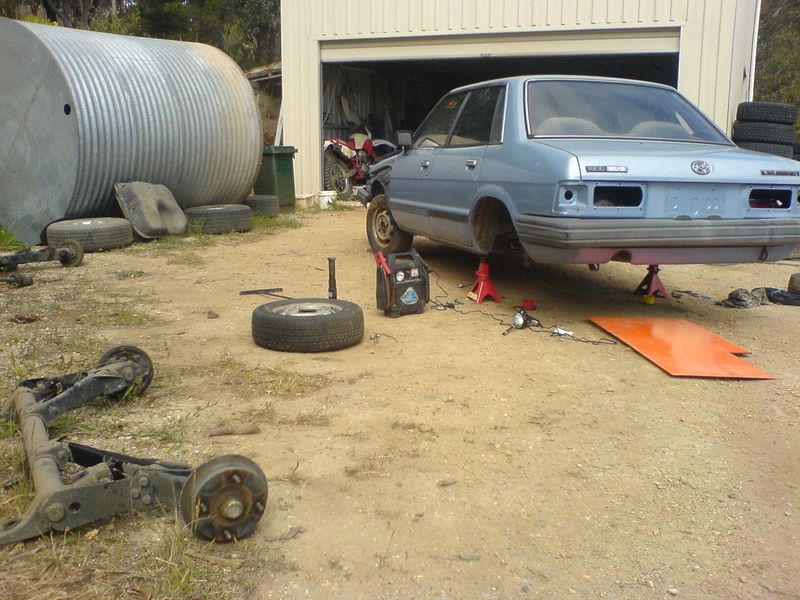
83 Subaru Leone 4dr 4WD
5 Speed Manual 4WD Conversion
Because the Leone Sedans only came in 2WD here I had to convert it to 4WD. I decided on using the standard 4WD torsion bar out of a EA81 style Wagon because they are a direct bolt in and have more suspension travel then the EA82 style coil over swing arm setup. I also decided on using a 5sp D/R EA82 gearbox because they have better gearing, better low range and a fifth gear for highway speeds.
I'll start off with what I done in the rear of the car.
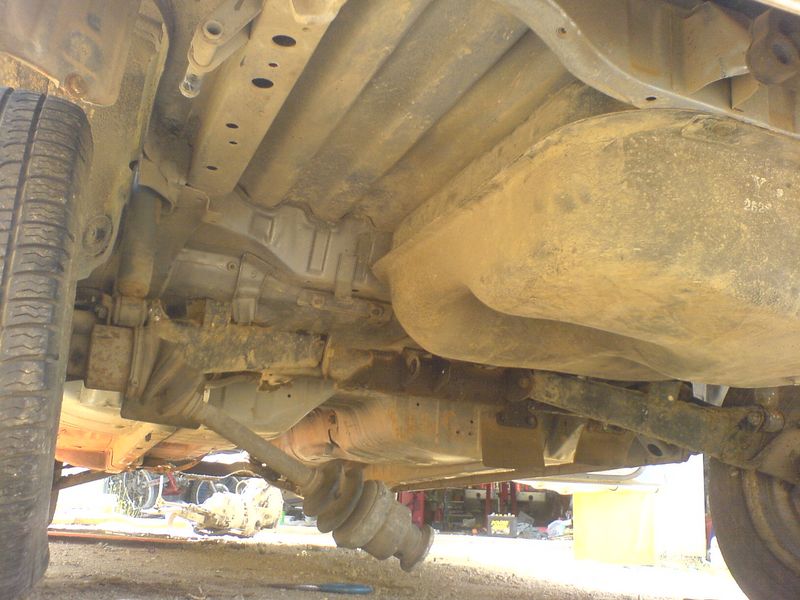
Unbolting the old 2WD non-adjustable torsion bar was easy. Just four bolts on the torsion bar itself and two for the shockers. Disconnect the brakes and bam, it's off. But because the 4WD has a rear diff right below the fuel tank the tank had to be changed as well. A few pipes and bolts and it was out as well. I put the 2WD sender into the 4WD tank because it had more wires then the 4WD sender. Then I bolted it up, piped it in and moved on to the 4wd torsion bar. I bolted it up to the four points, then connected the brakes and shockers. Stuck the wheels back on and lowered it down. Easy as Lego.
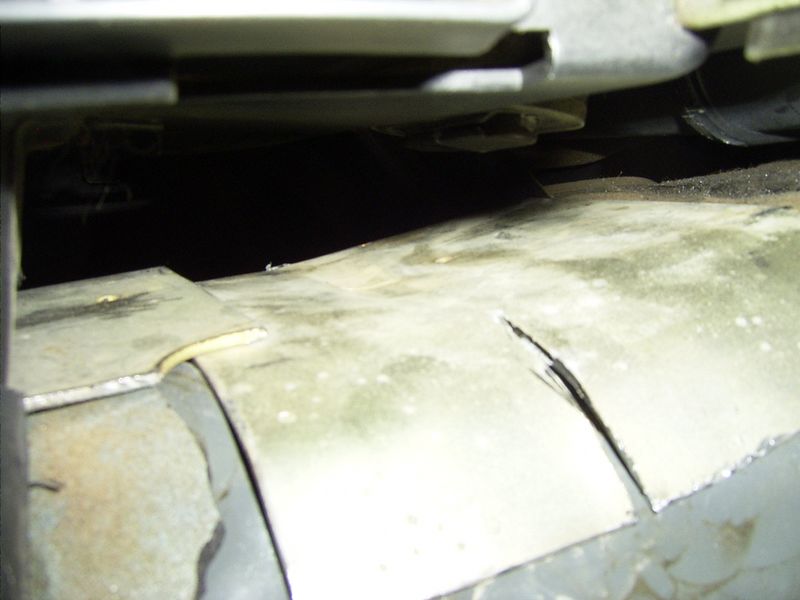
The Sedan I have came with the captive nuts for the rear diff hanger on the right side of the car, but not on the left side. So I have to weld the bracket to the car. Add some paint and a diff and there you go, the rear is 4WD. Simple as that.

The rear shock absorbers were already replacement ones and look to be the 4WD model anyhow, so I did not need to replace those.
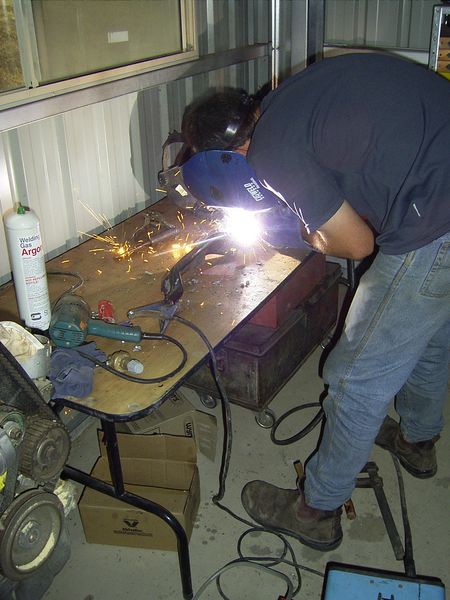
The front was a little more difficult due to this car being a 2WD Manual transmission model. The autos have more room in the transmission tunnel for a larger gearbox but the manuals don't have much room at all. And it turns out 2WD and 4WD cars are different again. There was no amount of bashing that was going to fit the 5sp (which usually needs a hit here and there in the EA81 4WD 4sp D/R cars to fit) so I had to resort to the angle grinder.

Using a 4WD jack to widen up the tunnel after cutting.
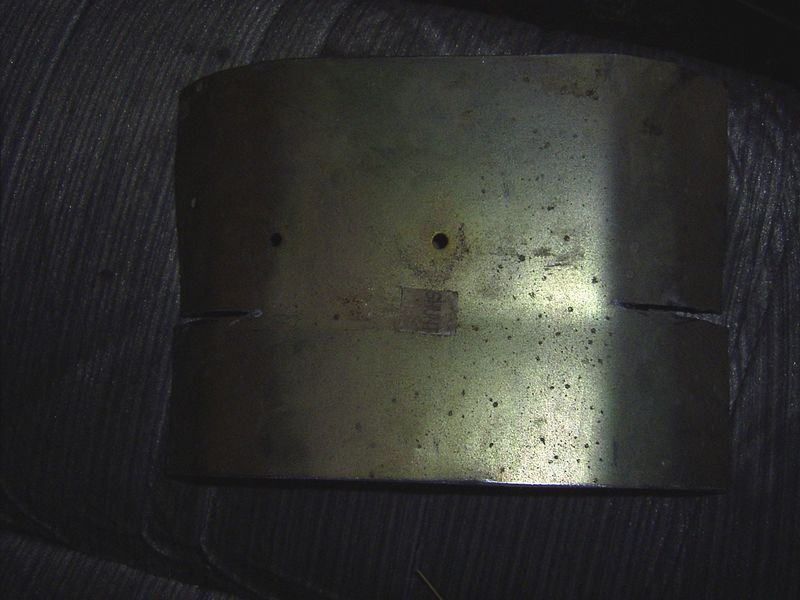
I then made two plates, one to fit under the heater box and the other in front of the shifter hole to cover up the "gapping wound". A few rivets and some silicone later and its all patched up.

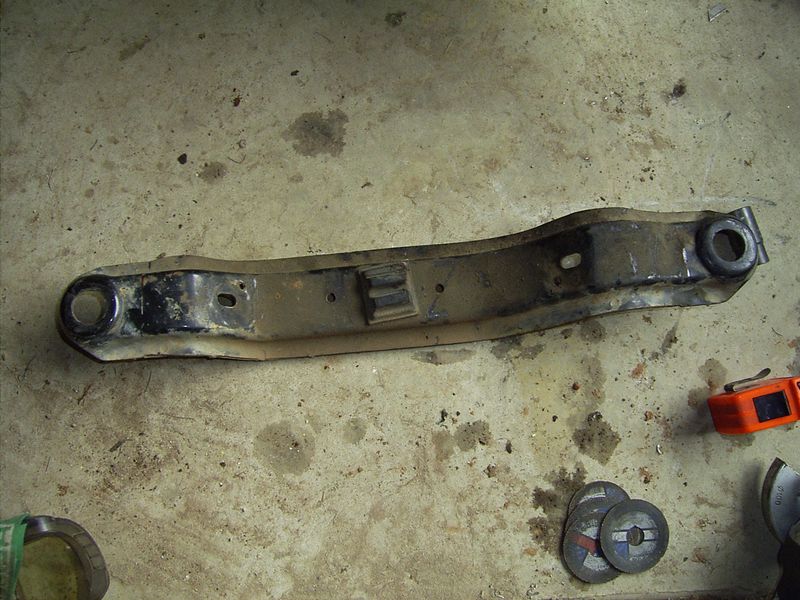
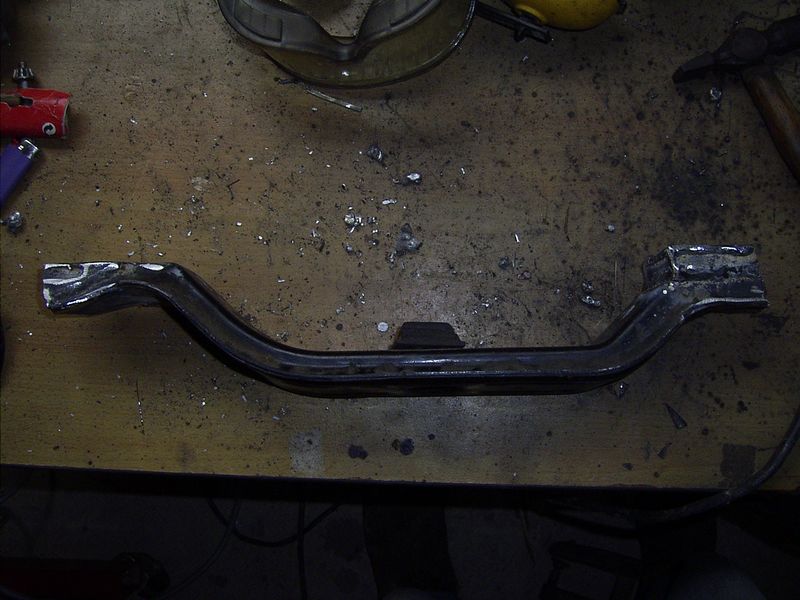
Next up is the gearbox crossmember. Some use the standard EA81 crossmember with modified mounts to fit the EA82 gearbox. I don't like the mounts on the EA81 so I used the EA82 crossmember with EA82 mounts which are much better in my opinion. This is pretty much how I made the one to fit the FT4WD EJ gearbox in my Brumby ages ago.
Get EA82 (L series) gearbox crossmember. Cut ends off to shape and length of EA81 4WD crossmember. Weld on spacers to set gearbox at right height. Finish welding and paint.
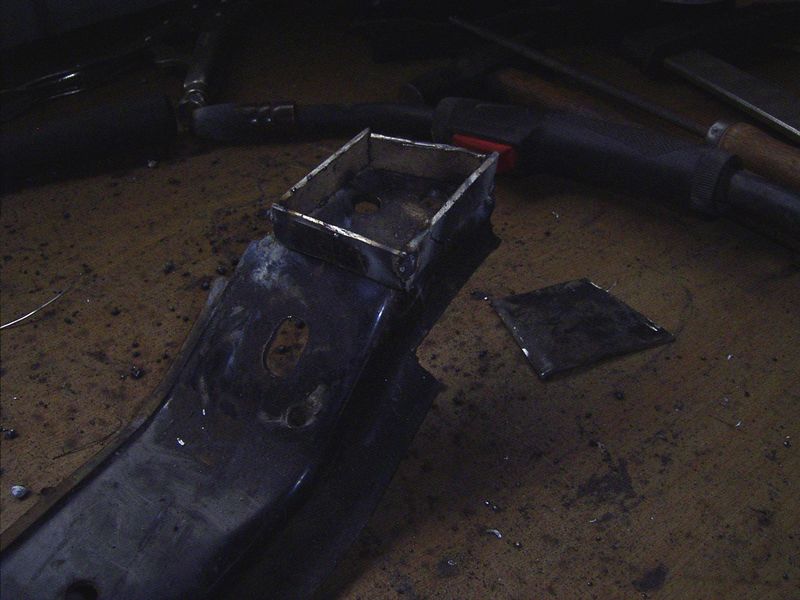
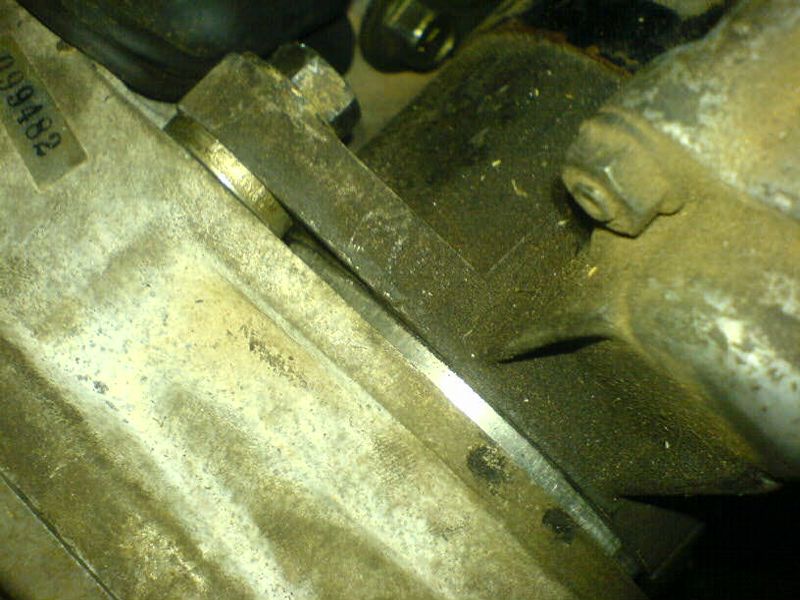
Because I am using an EA81 on an EA82 gearbox something needed to be done with the clutch and starter motor. I opted to keep the EA81 flywheel and pressure plate and just use the EA82 friction plate. But because of this I needed to space the starter motor 4mm out from its whole. This is because the starter hole in the EA82 gearbox is closer to the bell housing then the EA81 gearbox and the EA82 flywheel normally makes up this difference by having its gear closer to the motor.
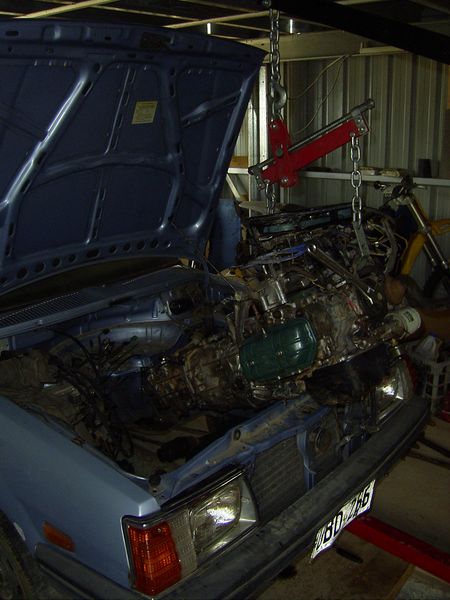
Next up I dropped the gearbox and engine as one package in to the car. And started on the clutch cable. This needed swapping because the EA82 gearbox has its clutch lever on the left side of the gearbox, not the right like the EA81's have it.
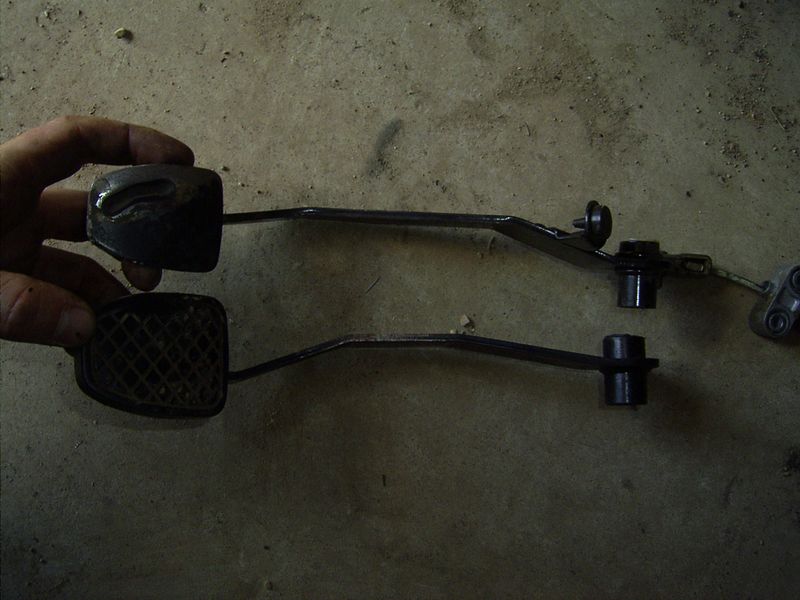
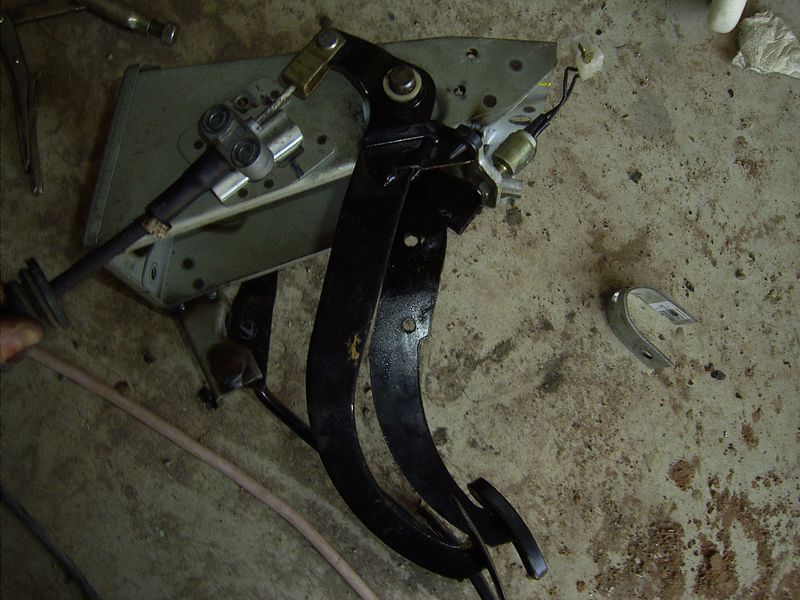
Comparison of the EA81 (below) clutch to the EA82 (on top) clutch. And what the EA82 clutch looks like on the EA81 pedal box.

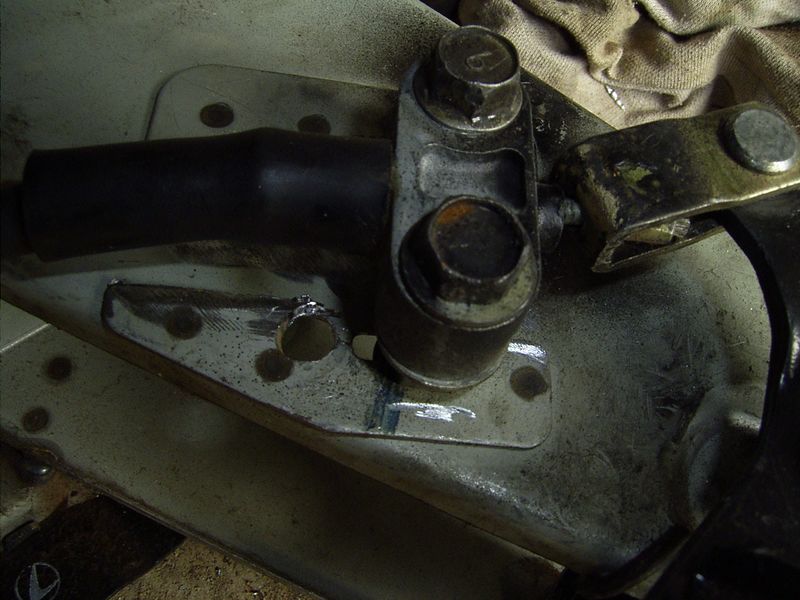
The pedal box chopped and drilled. Then the clutch cable bolted on, with a new set of holes this time in the right place.
With the pedal box bolted back into the car and cable connected to the gearbox the pedal sits level with the brake.
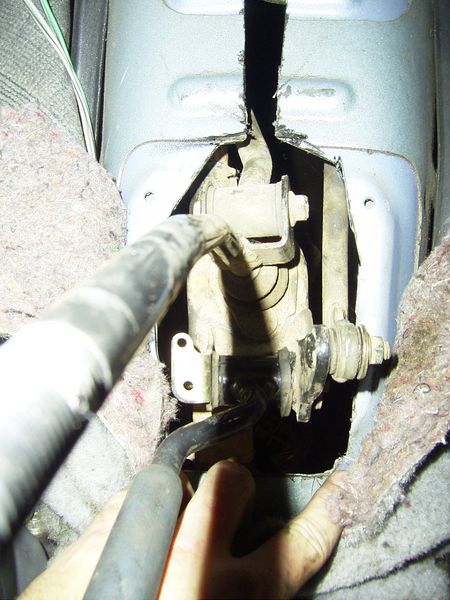
Up next is fitting the shifter assembly in.
I opted for a standard EA82 (L series) shifter linkage and 4WD linkage unmodified. This just required some cutting to the shifter hole in the transmission tunnel.
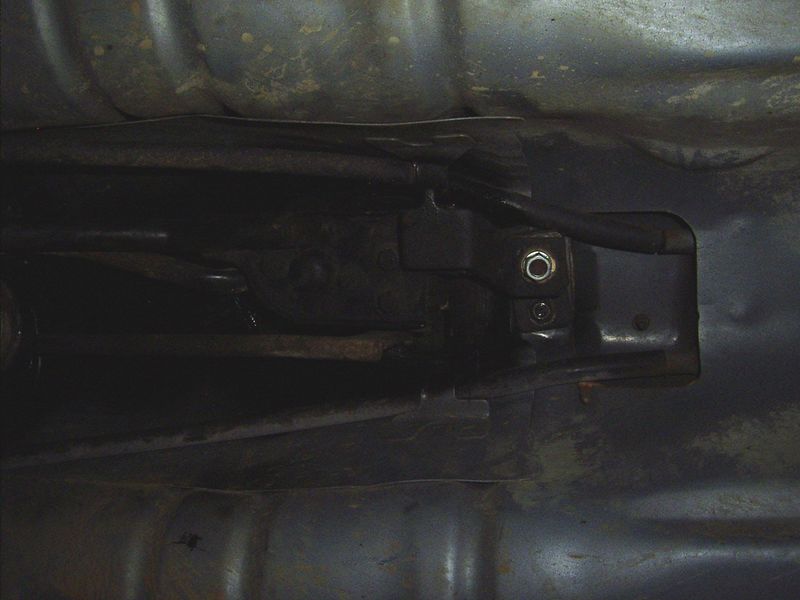
The second picture is from underneath looking at the 5sp D/R gearboxes shifter plate bolted to the 2WD EA81 mounting. I used the standard EA81 rubber mount and the EA82 rubber mount. I am having problems with this setup however because I used a two-piece propshaft from the EA82 the shifter plate rubs on the propshaft when I change gears.
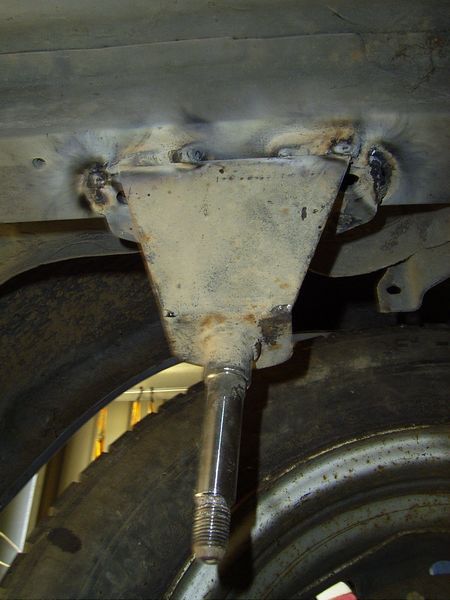
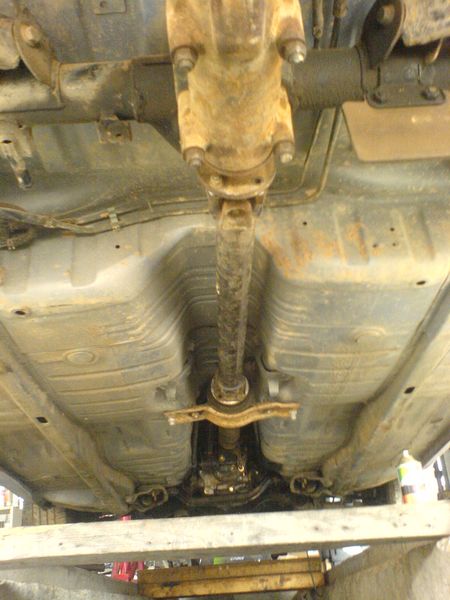
Last up is the propshaft. It is just a standard EA82 (L-series) propshaft with centre bearing mount bolted through the floor pan. Very easy to fit.
Pervious Page - Intro | Next Page - Fender Cutting
Written by Thomas Paine
Text and pictures on this site Copyright © 2005 Thomas Paine. All rights reserved. All copyrights are retained by original authors. If you wish to use a picture or quote the text off this site to your own site or to a online forum please ask for permission first. If you use anything off this site that may lead to damage of my reputation I will have to take the matter further. So do not piss me off!
DISCLAIMER: Thomas Paine, www.OffroadingSubarus.com, does not warrant or make any representation regarding the use, or results of use of the information contained on and within this website as to its correctness, accuracy, currency or otherwise. Thomas Paine, www.OffroadingSubarus.com, expressly disclaim all liability or responsibility to any person using the information or advice contained on and within this website.