Outback Low Range Conversion – 1.59:1 EA82 low range in a Gen3 Part 1
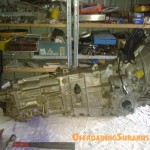 If you are looking for more offroad gearing in your Outback or Forester this might be for you. You will need experience and access to a lathe (preferable a decent one) and tungsten carbide tools, or you will need to take a few parts to get machined to your local machine shop! You will also need a bench grinder. This page is for 8 bolt Subaru EJ D/R gearboxes with 4.11 diff ratio running 1.19 to 1 or 1.44 to 1 low range gearset. These gearboxes came from 98-03 Outbacks and 97-08 Foresters (possibly newer models too).
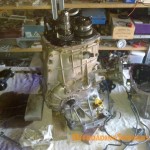 Once the gearbox is out of the car you can get to work dismantling it. Start by taking off the shifter linkage, use a punch to knock out the pin that holds it onto the shaft rod. Take the rear cover plate off, this is held on by nine 12mm hex bolts. When pulling off this plate it may pull the output shaft out with it that takes drive from the centre differential to the propshaft. You can now pull the centre diff out of the rear casing. Continue by unbolting and removing the rear casing. First remove the low range lever from the front on the right side of the box, just punch out the pin and pull it off. There are eight 12mm hex bolts that hold the rear casing to the two front case halves. To split the two halves you not only need to take out the eleven 12mm hex bolts with nuts and six 14mm hex bolts but also unbolt the input shaft housing from the front of the gearbox (behind the throwout bearing) and the plate that spans the two halves on the back under the 5th gear. You can now split two case halves.
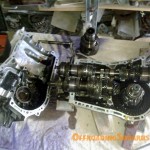 Now you have the case open, remove the input shaft along with the main shaft being careful not pull them apart until they are sitting on a bench. The low range selector fork will come out with the shafts, be sure not to lose the forks slider feet when it comes loose from the shaft. When you pull the input shaft off the main shaft you are splitting the low range synchro, the synchro might fall into a few pieces, take special note of how these go so you can reassemble them correctly. Now remove the lay shaft.
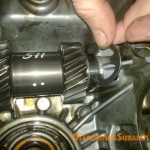
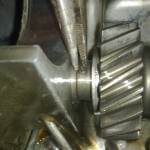 In the right side of the two halves you will see the low range gearset’s lay shaft. To remove this there is a circlip on the back of that shaft, once removed the washer on that shaft can slide off it’s locking pin. You can then pull the pin out of the shaft using pliers. Now pull the shaft out of the casing from the front (in the bell housing). Be careful not to lose the other locking pin which is for the washer on the other side. You can keep the parts of the low range lay shaft together, no modifications need to be made to these. You will simply just install the EA82’s low range lay shaft and gears.
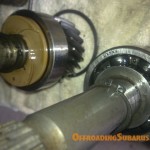
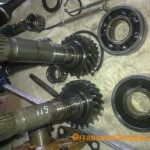
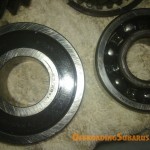
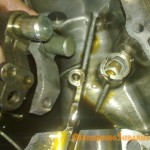 Move onto the input shaft and start dismantling it. Take the circlip that holds the bearing into the input shaft casing. Pull the shaft out of the casing and remove the circlip on the shaft that holds the plastic oil pump piece in place. In this picture you can see the EA82 shaft (right) and the Outback shaft (left) along with the circlips that hold the oil pump and bearing circlip retainer washer that is on the EA82 shaft. Pull the plastic pump off the shaft and remove the bearing retainer circlip. You can not press the bearing off the shaft, alternatively you can use an appropriate sized tube and a hammer to gently tap the bearing off the shaft.
Please continue reading PART 2
