Radius Rod Extensions (increase caster angle)
Subaru’s usually have a negative or upright caster angle. This causes the wheel to tuck under (increase in positive camber) when turned in turn causing bad tyre wear on the outside edge of the tyre when turning (especially when driven hard).
I touched on this topic back in 09 with the 83 Leone. Have a read here. In that post you can see I changed the radius rods for modified Toytoa Crown rods. This gave about 25mm longer rods that were adjustable. That is great if you want to run huge tyres with minimal lift, but for those of you who want to run standard suspension and tyres but have a little better tyre wear and handling, try this one out.
Adding spacers to the radius rod bushings can give you up to 20mm of “adjustment” using the standard bushings.
First you will need to pull the radius rod out. This can be done with the car on the ground but might be easier when jacked.


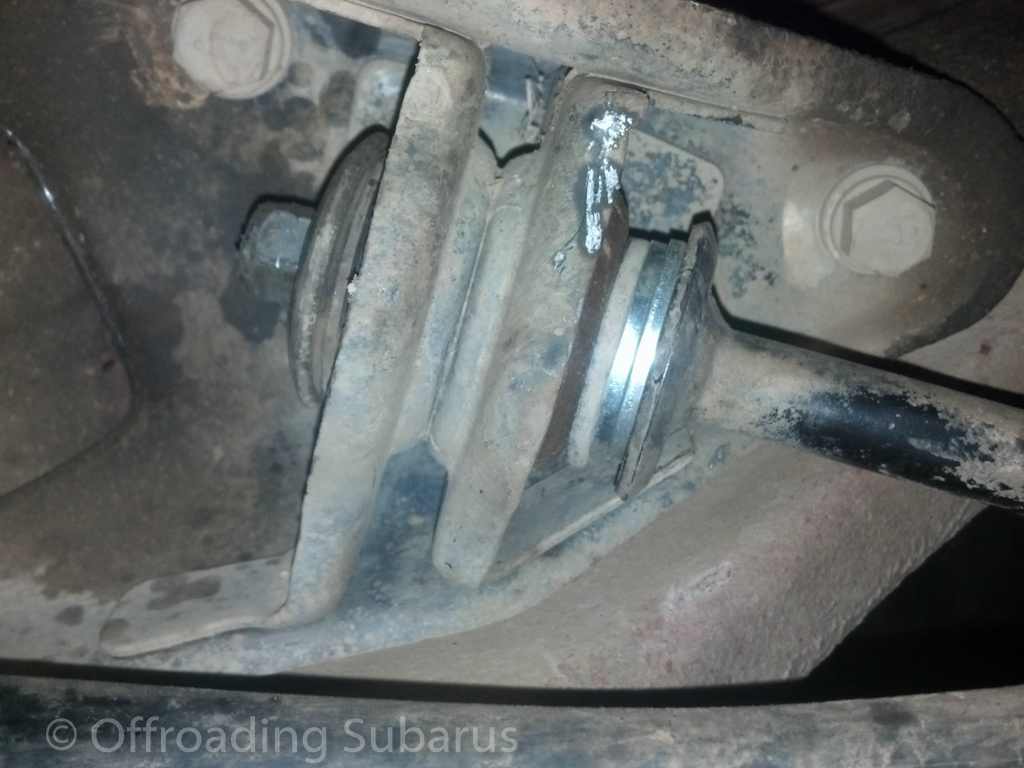
The two bolts up inside the control arm in the first picture hold the radius rod to the control arm, these should be 17mm on each side. You may also need to unbolt the anti-sway bar too which is coupled to the radius rod to the left of the first photo.
Next remove the nut on the back o the radius rod, this also should be a 17mm.
Next you will need to make up a washer to hold the bushing right, just use a spare washer from another radius rod or find something similar, these washers are cupped to hold the bushing in place and compress it evenly. To get this washer over the radius rod you will need to drill it out to 17mm or larger.
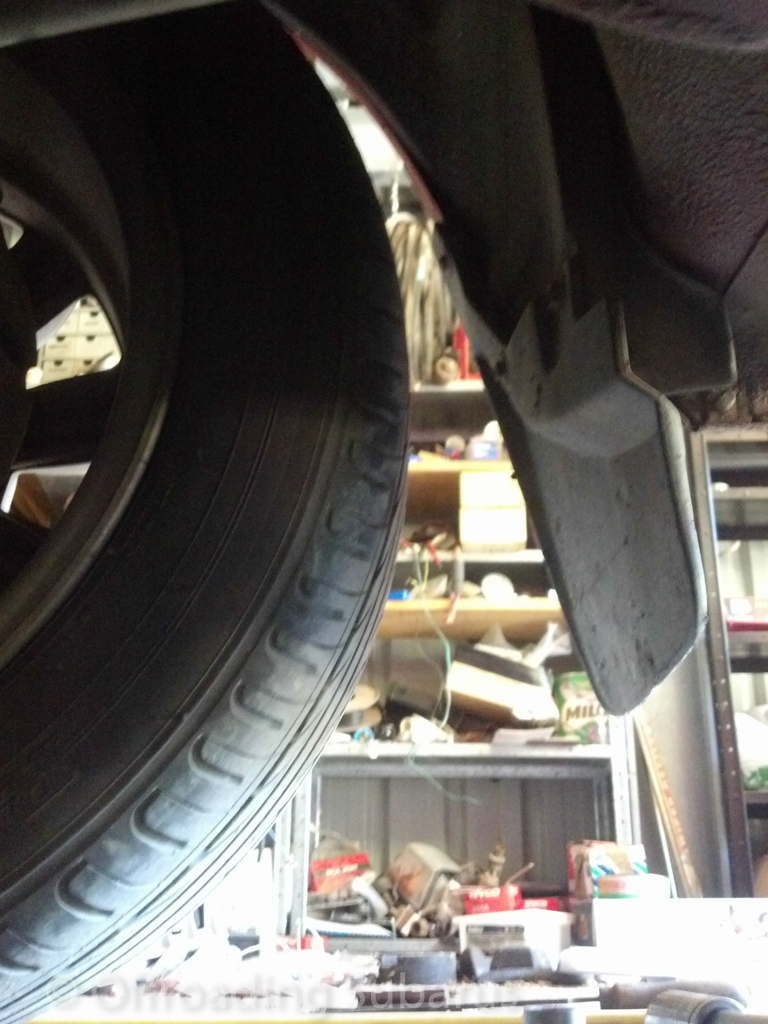
Then drill the front hole in the control arm to 14mm (it’s normally 12mm). This is because as the arm moves forward when extending the rod the angles will change and cause the bolt to bind.


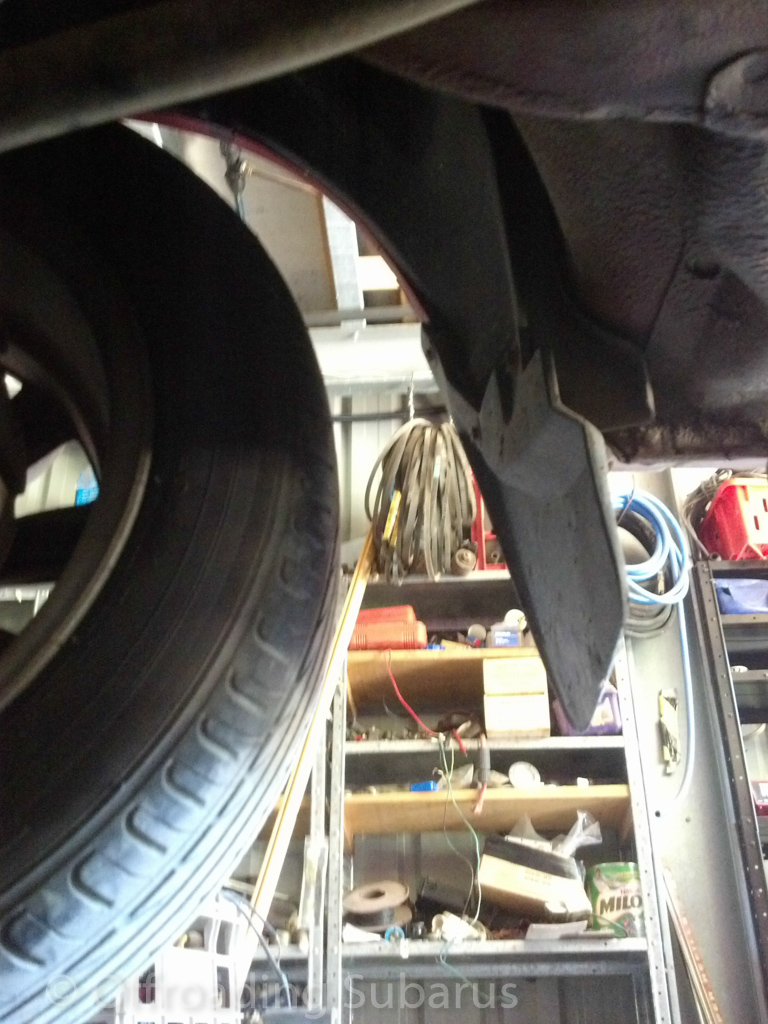
I’ve used a jack here to push the wheel into it’s new location (note, this picture of the wheel is from the right side of the car while the other pictures are from the left side!)

Finally put the amount of spacers you want/need (I’ve gone the maximum I can with the aftermarket bushings this car has which is 17mm).
Place the rod into it’s rear socket, get the nut on then before tightening bolt up the two front bolts to the control arm. Tighten the rear nut and reattach the anti-sway bar.
Note: if you don’t have nyloc’s on the back of the radius rod I highly recommend getting some. Because the joint no longer tightens up to a stop you will need to hold it tight with a nyloc nut.
Before and after
![]()
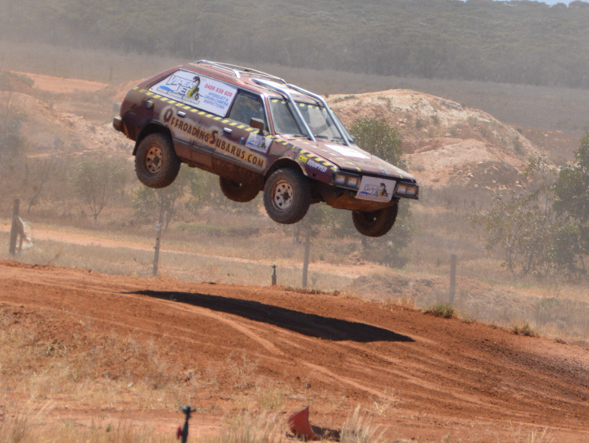
I bought my first Subaru back in 2005, it was a 89 Brumby, flair red. I lifted it, fitted Kumho 27″ MT’s. After a while I swapped the dual carb EA81 it had with an EJ22 bolted on a custom gearbox which used EJ D/R casing, EA82 5sp low range and an RX centre locking diff. Once I sold the Brumby I got a 83 Leone. Converted it to 4WD, put the Kumho’s on it, added a 5sp and drove it like I stole it. I then upgraded to a 99 Outback. It was hail damaged so I repaired it myself. I fitted it out with some storage and a mattress. I now have a 87 Brumby that I’ve resprayed with two pack urethane in Waratah Red. I am planning to fit an EJ with PT gearbox and a little bit of lift. It’s another project in progress.
Phizinza – who has written 50 posts on Offroading Subarus.