Outback Low Range Conversion – 1.59:1 EA82 low range in a Gen3 Part 3
At this stage you want to clean all the casings, remove old gaskets, wipe out oil. I find a sharp blade can be useful for cleaning off the silicone and gaskets from the mating surfaces. Make sure you clean off any swarf or tiny bits of contaminants that are on the gears or in the casing.
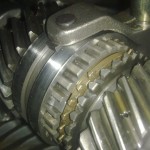
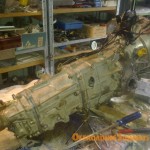
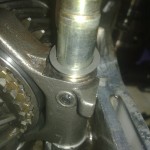 Assembly the main shaft with the input shaft and low range synchro. Ensure the low range detent spring and ball are in their place under where the synchro fork goes. Put the sliders in the fork, and slide it onto the synchro. Put the front differential into the left side piece of casing. If you can, get help with this next part, put the assembly into the left casing while lining up the fork into its slot. The main shafts smaller bearing has a notch in it to line up with a pin in the casing, make sure it slots in and the bearing is seated well. Make sure the input shafts casing is the right way around and the metal gasket it has is also the right way around and lined up and stick two bolts in it loosely. Make sure you install this spacing washer if you have one on your synchro fork. Install the lay shaft taking note you line all the synchro forks up and don’t force anything. The pinion bearing on this shaft also has a notch that has to line up with a pin in the casing. Note that the bearing holder on the back behind the 5th gear that bolts to the casing is the right way around and has it’s metal shims. Put two bolts in it loosely just to hold it in place. You should have it assembled like this at this point.
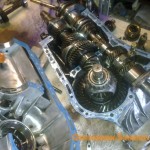
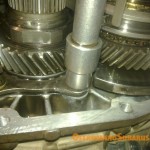 Clean up the mating surfaces of the two half casings with a clean rag and metho/acetone. Using RTV silicone on your finger spread a thin but consistent layer on both casings.
Line the diff stub and low range fork pin up with the right half. Make sure the shims on the back and metal gasket on front are out of the way. Squeeze the casings together, you can use a hammer to lightly tap them once you are up to the locating pins to get it surface to surface. Install all the bolts (17) making sure the external brackets are all in their right places. Before tightening, install the other two bolts in the input shaft casing and 5th gear bearing holder until finger tight. Tighten all bolts on the casing halves diagonally. I torqued them up, 12mm at 30nm and 14mm at 50nm. Then tighten then finger tight bolts in each end.
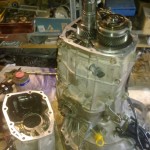
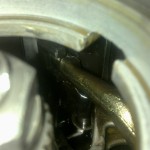
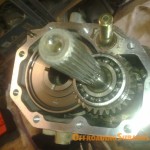 Make sure the round spacer in for 5th gear is in place. Clean and silicone the rear casing and back of the front halves. Put the shifter rod in the rear casing, line it up into the slot of the three shifter rods. Bolt the rear casing on with the eight bolts.
Make sure the shifter rod is free to move around, if it isn’t you might need to take off the spring for it which is in that round casing part bolted to the side of the box. It is now as simple as placing the centre differential onto the lay shaft splines and placing the output shaft into the casing.
Clean and silicone the surfaces again for the rear cover plate. Bolt it on with the nine bolts. Put the linkage back on the shifter rod and punch the pin back in. Do the same for the low range lever.
Test the gearbox by turning the input shaft by hand and selecting all gears including using low range. If there are no bad noises it is hopefully all ok! It will sound a bit dry and all the bearings will make a bit of noise but once oil is in there it should be fine.
Don’t forget to put oil in it!
